

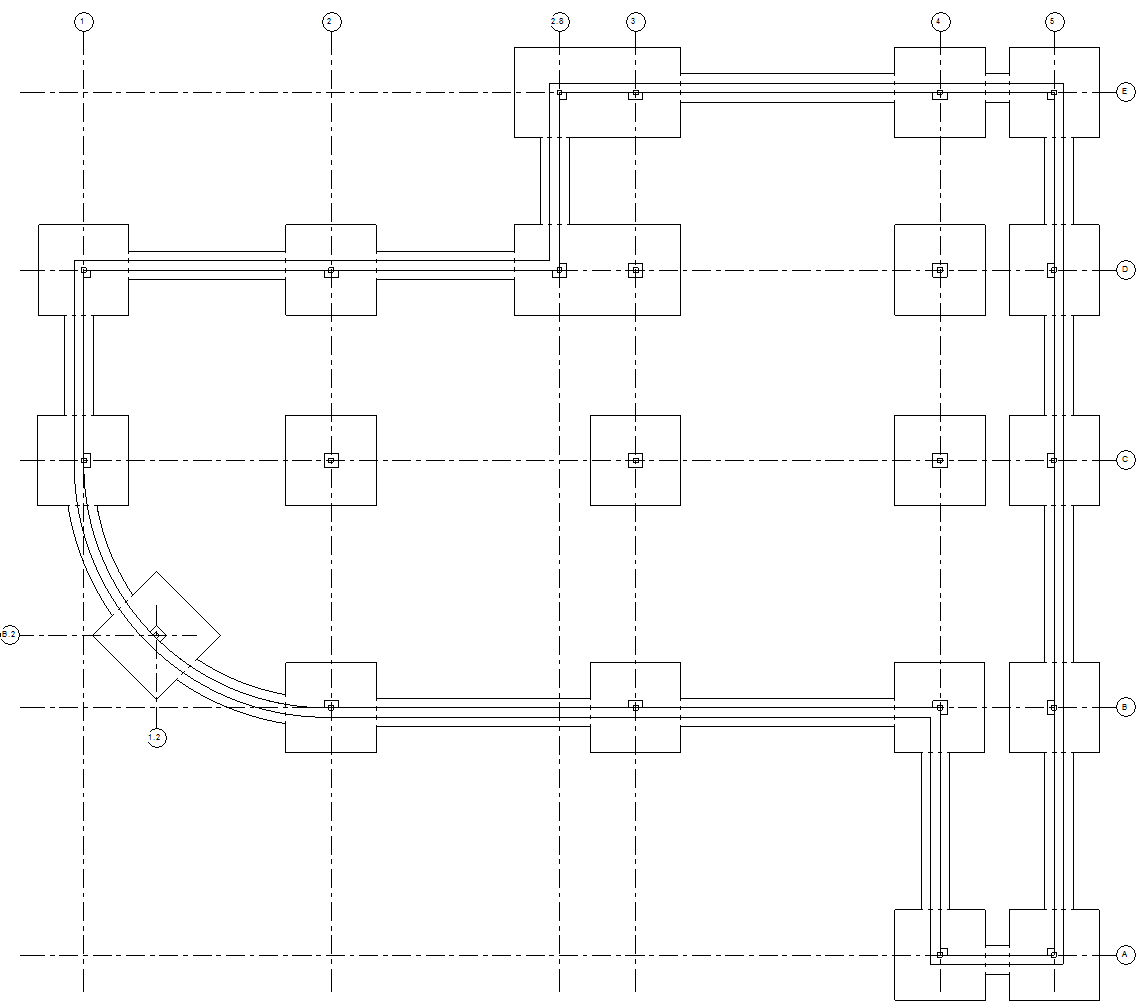
To see how this works, let's say we want to make all our footings dashed in our structural foundation plan; by default, all these elements are shown with continuous lines as shown in the next image. FYI: There are other ways to achieve this result, such as view filters, but that is not the point.
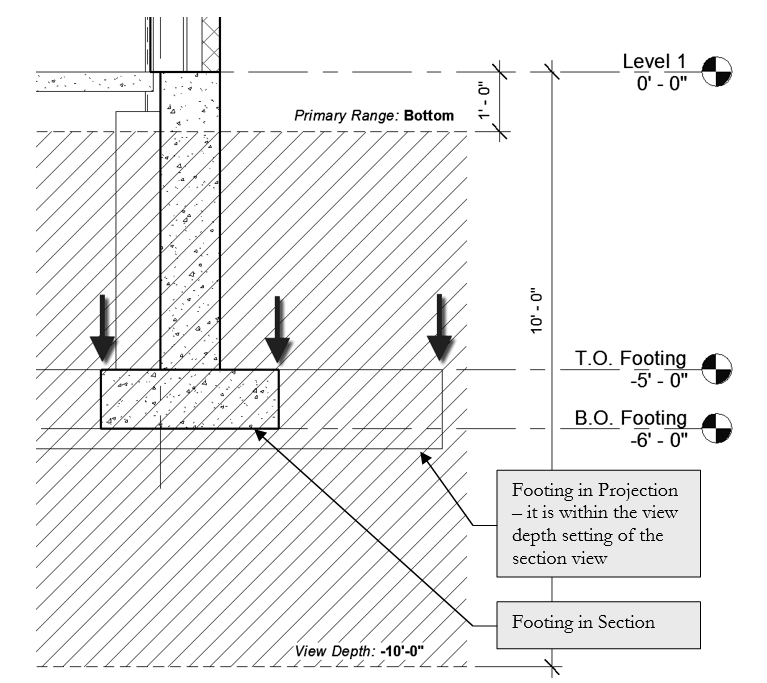
The Beyond line style appears automatically in a plan view when an element, any element, exists between the view's Bottom and View Depth settings as seen in the View Range dialog below.

The section below highlights this range, for our example, between the Bottom and View Depth. The footing has a fairly wide range it can exist in and still be automatically dashed in our plan view. This would account for any stepping and/or grade change.
The result is all the strip footings and isolated footings are shown dashed in this specific view as shown below. Of course, things turned off in this view are not affected, nor are other views as they have their own View Range settings.

The Beyond Line Style is set at the project level from the Manage tab (Manage > Additional Settings > Line Styles). This Line Style can be overridden per view in the Visibility/Graphics Override dialog (Model tab > Lines).
This opportunity is not readily apparent in a new project as the Beyond line style is set to continuous in the Revit-provided templates and most plan views start with the Bottom and View Depth set at the same value--which would mean the Beyond line style could never appear in that view.
This example, and more like it, can be found in Design Integration using Autodesk Revit 2018.