

Yesterday's post: Creating Wall Baseboard in Revit - Option 1
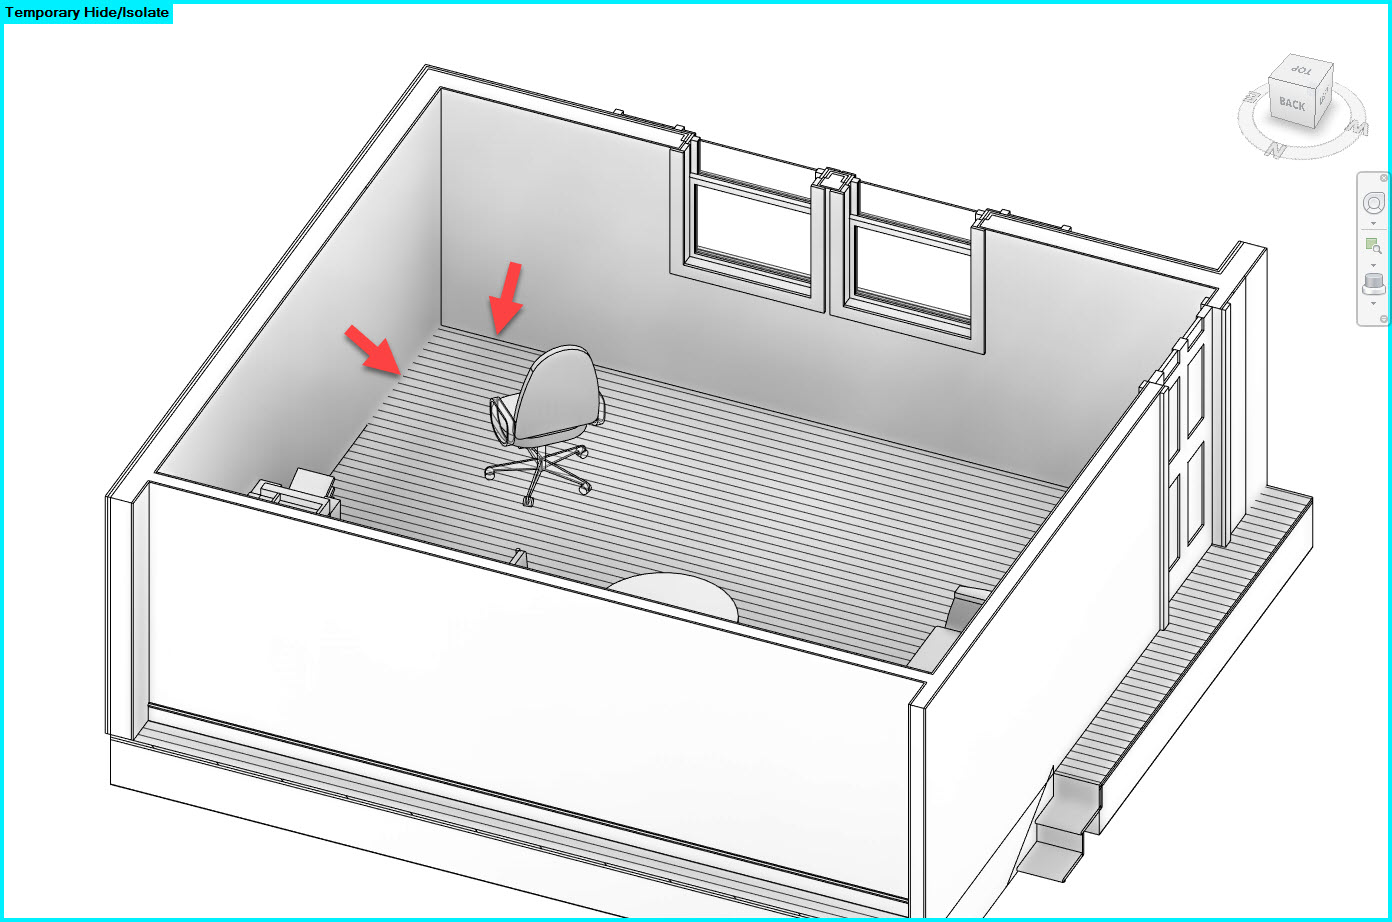
Looking at the same project, lets say we want to add baseboard to the other two walls in this home office - I hid the desk so we can focus on the bottom of the wall.
Continue reading to learn more...
First, we will create a sub-category via Object Styles as Nicole alluded to in the comments section for yesterday's post. The steps to create a "Baseboard" sub-category are shown here:

Next, we start the Wall: Sweep command.

The steps are (with the Wall Sweep tool active):
- Edit Type
- Duplicate
- Edit the following Type Properties:
- Profile
- Material
- Sub-category

I can then start clicking on walls to place baseboard. While creating wall sweeps, we can toggle between horizontal and vertical via the Ribbon. We also have to position the cursor just right to get the baseboard to align with the floor, as we can place a wall sweep at any elevation... think picture rail, cove moulding, etc.

One thing that is unique about wall sweeps, compared to adding a sweep to a wall type, is the ability to adjust the start and end position of the sweep after placement. Notice the wall sweep, in the previous image, extended along the entire Revit wall element... meaning it went outside of the room we are working on. With the wall sweep selected, we can grab the end grip and move it into the room. It is helpful that the grip appears outside of the area being cropped by the Section Box.
- Update: Philip Chan just pointed out that you can control the start and end points with integral wall sweeps. Just select the wall and the grips appear for each sweep (no need to "tab-in" to select them).
Once repositioned within the room, we can now see the full profile of the sweep as pointed out in this next image.


While creating wall sweeps, if you place multiple sections in a single command the inside and outside corners will miter properly. Below is an outside corner example. If you select a wall sweep, you can use Add/Remove Walls to extend that instance around additional corners if required.

Now, back to the sub-category we created, and why. In the first image below we are looking at a Revit plan view set to realistic. We see the baseboard coming from the wall type (on the left/West, with the door opening) and the one we just created with the wall sweep tool (the bottom/South wall).

If we edit this view's visibility graphics (Type VV) we can turn off the Baseboard sub-category (see second image below) which turns off the wall sweeps only. Sadly, there is no way to turn off sweeps within a wall type.


It is also worth pointing out that options covered, i.e. sweep in wall type and wall sweep, are both automatically cut by wall openings such as doors and windows.
The only real cons for Wall Sweeps is they are not automatically at every wall. Manually placing these on a large building would take some time. Also, if you have manually modified the endpoint of a wall sweep, and the length of the wall changes, the wall sweep will move as well, when you might not want that in some cases.
I will close with a couple Enscape-generated images showing the graphic results of both methods are the same...
Stay tuned for yet another option... again, look forward to hearing your comments.


Related posts:
- Creating Wall Baseboard in Revit - Option 1
- Creating Wall Baseboard in Revit - Option 2
- Creating Wall Baseboard in Revit - Option 3
- Creating Wall Baseboard in Revit - Option 4 - Slab Edge
- Creating Wall Baseboard in Revit - Option 5 - Roof and Fascia