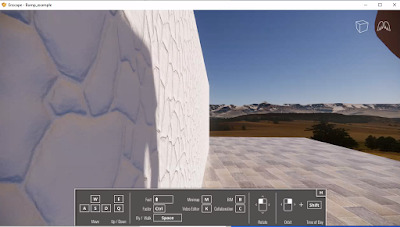
Using bump maps in a material definition is key to quality visualizations with Enscape, or any rending engine. A quick post today with a tip on making sure the bump map is doing what you want, and not creating the opposite effect.
Today, my example uses SketchUp, but the same could be done in Revit. If you have a stone material, temporarily remove the Albedo/texture by clicking the trashcan icon. Set the color to white.
Tip: another option would be to toggle into White mode and not remove the albedo.
Apply a bump map.
If the stone looks recessed, rather than projecting out, simply inverse the bump map as shown here.
Although the albedo/texture can be used for the bump map, the best result can be seen using an optimized image file. Notice the iamge below shows the albedo (left) and an optimized bump (right). The bump has more emphasis on what should project (white) or recess (black).
A quick video showing how adding a bump map to a stone wall results in a better sense of depth. Notice how the edges of the stones have different shading conditions as the sun moves. click here
This example, in the next video, also includes a Rough map. Notice the edge of the stone has different shadow conditions as the sun moves to create a better defined sense of depth in the otherwise flat material. click here
Again, if you remove the albedo from the texture or switch to white mode, the result of the bump map can be clearly seen on an otherwise flat white surface. Here is a video example of that! click here
Final tip... in Enscape 2.8 the Normal map now has an intensity slider!
Bump map for the win!
For BIM Chapters updates, follow @DanStine_MN on Twitter or connect on LinkedIn
Check out my video-based courses on ArchSmarter.
I also write blog posts for Enscape - a new paradigm in rendering, animation and VR for AEC.


